
 Step by Step guide for GST Registration on GST portal
There are two parts of the GST application namely Part A and Part B.
Part A
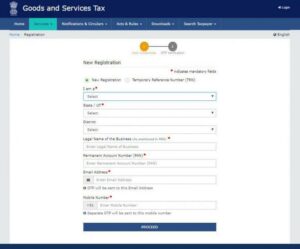
- Log on to www.gst.gov.in and click on the ‘Services’ tab ,select Registration>New Registration.The ‘New Registration’ will be displayed.
- Select the ‘New Registration’ option or you can directly click on “Register Now” option under taxpayer(Normal)
- You need to Select the type of user profile, state, district,legal name of the business ( as mentioned in PAN) ,PAN of the business/proprietor,email id and mobile number for correspondence.(Refer below image)
- Enter Captcha (characters shown in the image
- Click on “Proceed”.
- The list of all the GSTINs / Provisional ID’s / UINs / GSTP IDs mapped to the same PAN across India will be shown.
- Click on Proceed.
- The ‘Verify OTP’ page is displayed. Enter the different OTPs received on the email id and mobile number mentioned in the previous step and click on ‘Proceed’( Refer below image)
- The Temporary Reference Number (TRN) is displayed showing successful submission of Part A of the form. Please note, You will also receive the TRN acknowledgement information on your mentioned email id and mobile number.
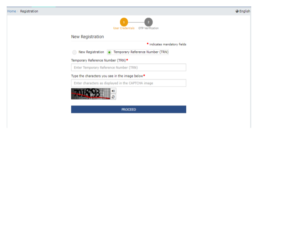
- Click on ‘ Proceed’ button, Alternatively, you can also click Services > Registration > New Registration option and select the Temporary Reference Number (TRN) radio button to login using the TRN.
Please note, The applicant needs to complete the Part B within 15 days using the TRN generated post completion of Part A or the entire information filled against that TRN will be purged and the he/she will have to apply a fresh form Part A.
Part B
- Enter the TRN and captcha and click on ‘Proceed’

- The ‘Verify OTP’ page is displayed. Enter the OTP received on the mobile/Email id and click on ‘Proceed’( Refer below image)
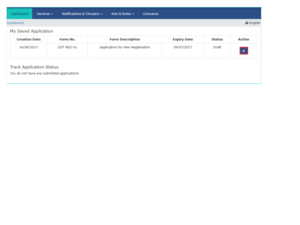
- The My Saved Application page is displayed. Under the Action column, click the Edit icon (icon in blue square with white pen)
- The Registration application tab will be displayed containing 10 sections namely:
- Business Details
- Promoters/Partners
- Authorized Signatory
- Authorized Representative
- Principal Place of Business
- Additional Place of Business
- Goods and services
- Bank Accounts
- State Specific Information
- Verification
Following is the list of documents which you should gather before you start filling each section:
- PAN card of the owner
- Aadhaar card of the owner
- Photograph of the owner
- Proof of place of business
- Bank passbook/Statement
- Letter of authorization/Resolution for Authorized Signatory
5. After entering all the details in various sections, go to ‘Verification’ page where the applicant needs to select the declaration, the name of the authorized signatory, place of filing of form and click on ‘Submit’.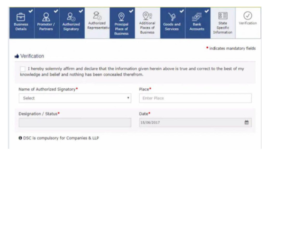
Please note, there are 3 ways to submit the application:
- Using DSC (compulsory in case of companies and LLP)
- Using e-sign (OTP is sent to the email and mobile number registered with Aadhaar)
- Using EVC (OTP is sent to the email and mobile number registered with GST Portal)
6. After submission in the above step, a success message is displayed and Application Reference Number(ARN) is sent to registered email and mobile.You can also track your ARN status on GST portal by Services>Registration>Track application status.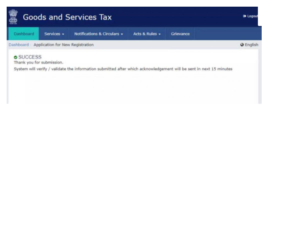
POST COMMENTS